 In September 2012, I attended the Amsterdam Harvest Event, hosted by ‘Farming the City’ and Cities Magazine. Local farmers and urban agriculture enthusiasts were invited to sell their produce (produced in or around Amsterdam) or share ideas. At the Harvest Event, I learned about Cityplot. “City Plot is an urban farming collective that supports people in growing their own organic food – on balconies, on windowsills, in gardens, on empty lots, and along the street!”
Cityplot runs a variety of workshops, anything from growing indoor winter crops to exotic herbs. They also run a workshop on how to create your own compost, using worms. As a Seattle-native with mandatory waste separation for food and yard waste, I cringe when I have to throw organic waste in the normal bin. Thus, my aversion of throwing away food waste, combined with supplying my balcony garden with fresh compost – worm compost: what a novel idea!
Composting with Worms 101
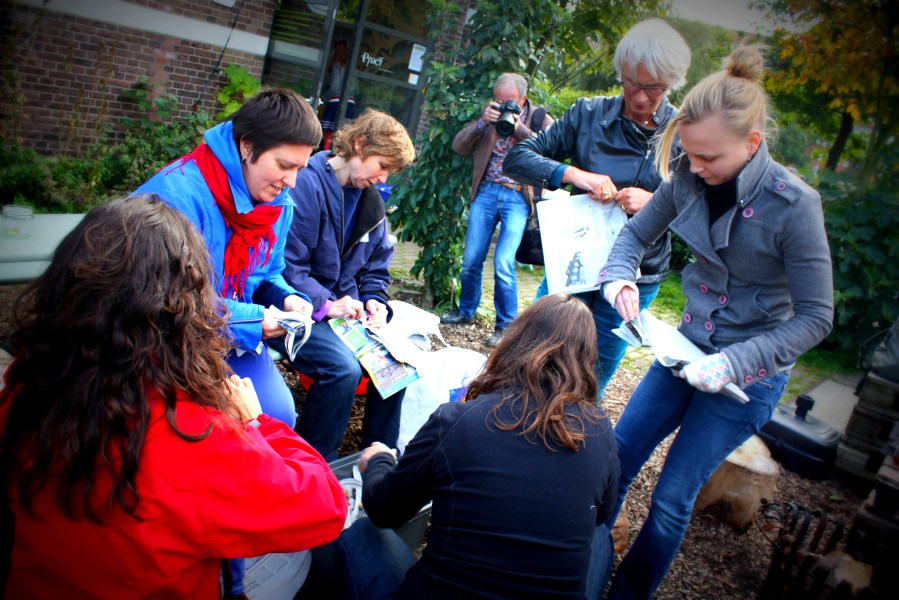
 Worms transform kitchen waste into a plant food, without the need of chemical additives; they are easy and inexpensive to maintain – and it’s fun! City Plot’s 2-hour workshop explained the how and why of worm composting, and we left with our new worms and composting bins in hand. The only difficulty: getting the bins back home, across Amsterdam, by bicycle.
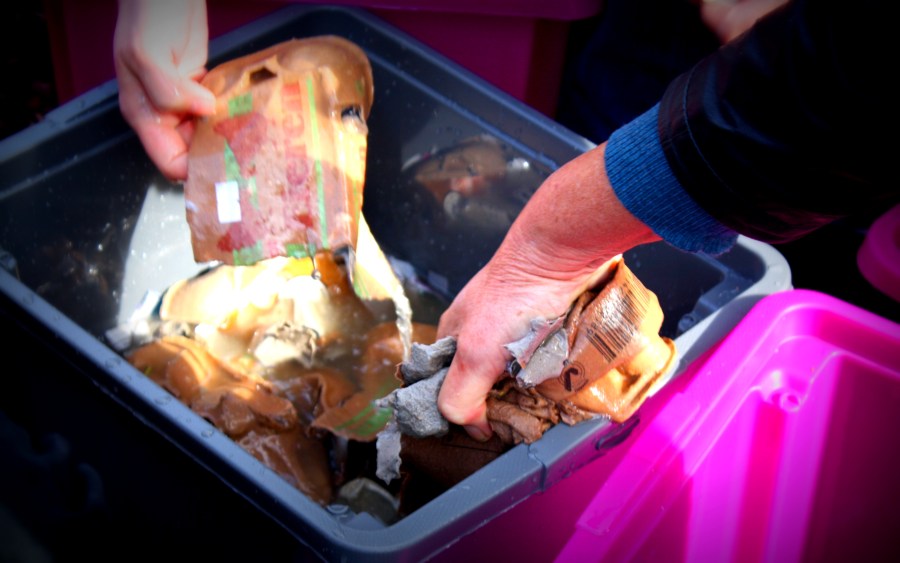
Ann & Suzanne led the workshop and explained that worms can process their own body weight in a 24 hour period (e.g. a kilo of worms can process a kilo of food). Healthy compost worms thrive on several elements: air circulation, a moist environment (damp, but not wet) and darkness. They feed on the microbial life found on rotting food, and thus a greater variety of food waste ensures a wider variety of microbial life (yum!) However, in addition to food waste, they also need what vermiculturists call ‘bedding’. Bedding, consisting of damp and shredded cardboard, newspaper or egg cartons, provides a place for nesting for worms to lay their eggs. Bedding should be placed on the top and bottom layers of a bin, providing insulation and a nesting space – and to keep the other creatures away.
The do’s & don’ts of a worm diet
While worms are pretty low-maintenance, it is good to keep in mind a few of their food favourites, as well as things they DO NOT like. Worms feed on rotting fruit, vegetable peels or leftover rice/ pasta (as long as it is not greasy and in small quantities). Do not feed them meat or bones, dairy products or greasy leftovers; they also do not like acidic or stinky fruits or vegetables (e.g. citrus or onion). Worms LOVE watermelon rinds, avocado or peanut shells, banana peels, coffee grounds and tea bags (be aware of nylon tea bags). Bedding, while serving as a nesting ground is also a food source and should be replaced with fresh, moist bedding every 2 weeks. Finally worms need something called ‘grit’ to help them process food; this includes egg shells or fine sand.
Worms like balance
- The right amount of food: too much may invite other organisms to the bin; too little will force the worms to recycle their own castings (which is toxic for the worms)
- Texture: Food can be chopped up, to help the worms break it down faster, but do not purée – there needs to be space for air to ventilate.
- Moisture: too dry & the worms will dry up and die; too wet & they will try to crawl out. Keep their habitat like a wrung-out damp sprung.
- Acidity: they like coffee grains and tea leaves, but not too much. However, they are adaptable, but give them time to adjust.
Ready, set, compost
It takes between 4- 6 months to produce worm castings/ worm compost that can be used in your garden. The worm castings, while healthy for your plants, is toxic for the worms, so make sure they have new food and bedding in the transition. Pick out the worms (and cocoons) and return them to the bin so they can get busy on your next batch! And when using the castings, bury it below the surface of the soil, as it may still contain some decomposing organic matter (to keep pests away).
That’s a snapshot of what we learned in the 2-hour workshop – and to make the bin (see below). If you are in Amsterdam and want to find out about more, contact City Plot to learn more about this or other upcoming workshops. Highly recommended!


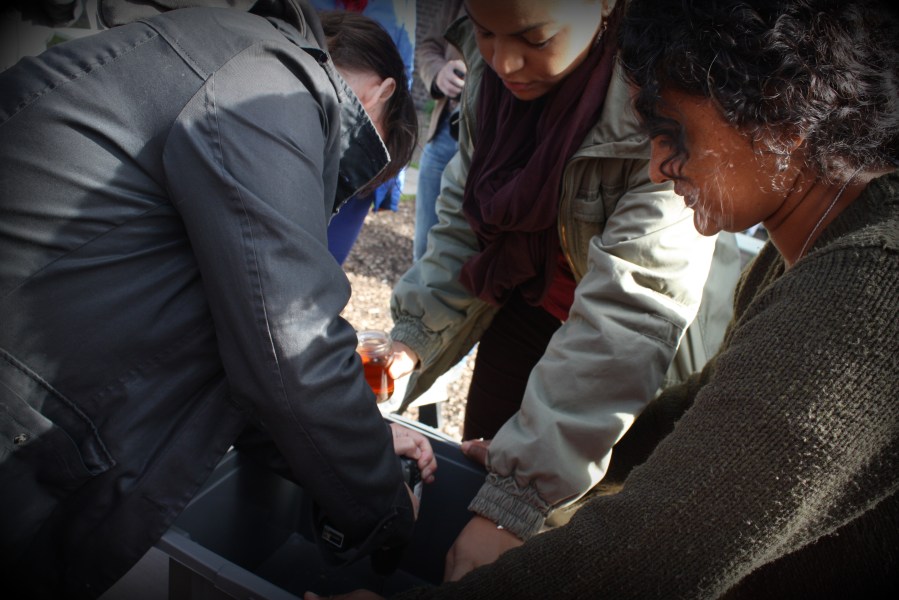
Worms need lots of air – such as ventilation holes – at the top of the bin. By having a two-layered bin (which we designed) they can also crawl to the upper bin if there is not enough food in the lower bin, or if the bin is too wet. Drainage holes can also be drilled in the lower bin but cover it with mesh, to prevent the worms from escaping.

Bedding should be placed at the bottom and top layers of the bin. It includes newspaper, egg cartons or cardboard – any non-bleached paper with soil-based inks can work.


The bedding should cover the bottom of the bin with a layer a few cm thick. Rip it into tiny pieces to allow the worms space for mobility and proper ventilation. When the bedding is complete… here come the worms!
And these ones, I’m proud to say, are my new babies.

Grit provides the worms roughage; egg shells also create very healthy compost.
Afterwards, we covered the worms with a second layer of bedding, and carried them to their new homes. Now, the real learning begins. 🙂
Hi Jennifer
Nice to hear from you and interesting as well. I missed the lecture since I was busy in capturing.So I understand a lot more now from what you were doing.
Enjoy your stay in Amsterdam.
May be we meet again since we share some interest in common
Louis Visseren
Hello! I just would like to give a huge thumbs up for the great info you have here on this post. I will be coming back.
This post really peaked my interest.
everything is very open and very clear explanation of issues. it contains truly information. your website is very useful. thanks for sharing. looking forward to more!